3D Graphics and Animation
The quad is a polygon made up of n edges.
True
False
An active object is affected by forces and by collisions with other Active Rigid Bodies.
True
False
A lattice deformer can be deformed as a deformable object.
True
False
Once the keys are set for the ball’s positions, the animation is complete; no further refinements need to be done
True
False
The location of a directional light makes a difference in how it illuminates the scene.
True
False
Clicking on the break tangents button allows you to adjust the handles for a key independently
True
False
UVs that overlap in the UV space can still have their own unique textures.
True
False
UVs are like verts, except that UVs occupy a 2D space rather than a 3D one.
True
False
Another name for a polygon is a face.
True
False
A rim light is like a light bulb; light emanates in all directions.
True
False
When rendering in Maya, you always want to render to a movie file.
True
False
The amount of influence a joint has over a vertex will determine how much that vert moves when the joint is rotated.
True
False
By waiting your joints, the add operation adds the current value to the vertex, regardless of the current value of that vert.
True
False
Applying a pole vector constraint to the ankle IK handle allows you to rotate the knee.
True
False
Zbrush and Mudbox can work with models containing ngons
True
False
Most animation you do in Maya will involve some form of setting keys.
True
False
An active object is affected by forces and by collisions with other Active Rigid Bodies.
True
False
A lattice deformer can't be deformed as a deformable object.
True
False
A blend shape is one type of deformer.
True
False
It doesn’t matter in what order deformers are applied to a model.
True
False
After you’ve created your blend shapes you can still add or delete geometry on your main mode
True
False
Any vert that is moved on a blend shape becomes part of that blend.
True
False
Pre and Post Infinity
Setting repeats the animation curve as a copy infinitely.
settings define the behaviour of an animation curve before and after the first key of that curve.
setting repeats the animation curve infinitely, except it appends the cycled curve’s last key’s value to the value of the first key’s original curve.
Setting repeats the animation curve by reversing its values, and therefore shape, with each cycle, creating an alternating backwards and forwards effect.
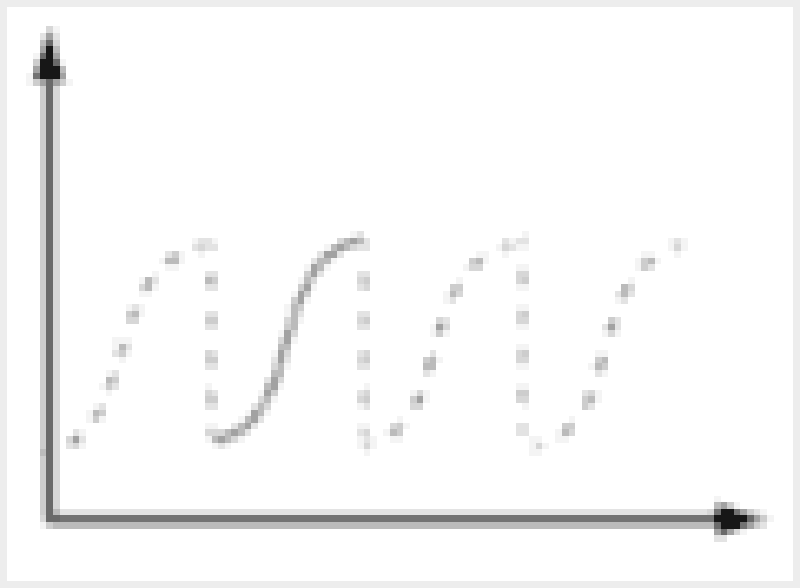
Cycle
setting repeats the animation curve as a copy infinitely.
settings define the behaviour of an animation curve before and after the first key of that curve.
setting repeats the animation curve infinitely, except it appends the cycled curve’s last key’s value to the value of the first key’s original curve.
Setting repeats the animation curve by reversing its values, and therefore shape, with each cycle, creating an alternating backwards and forwards effect.
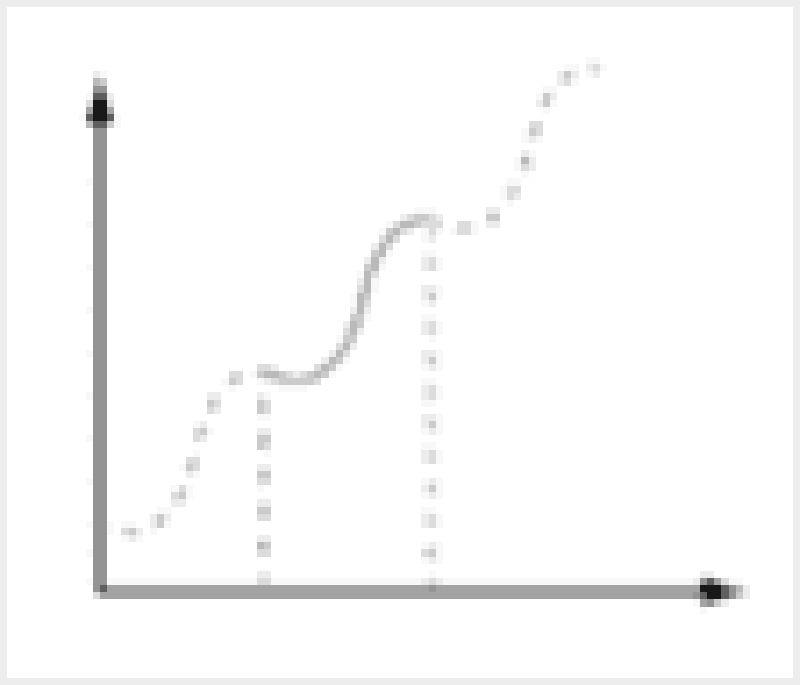
Cycle with Offset
Setting repeats the animation curve infinitely, except it appends the cycled curve’s last key’s value to the value of the first key’s original curve.
setting repeats the animation curve by reversing its values, and therefore shape, with each cycle, creating an alternating backwards and forwards effect.
setting extrapolates the value of the first key using its tangent information. It projects a linear curve infinitely beyond.
Setting maintains the value of the end keys. This is the default setting for animation curves in Maya.
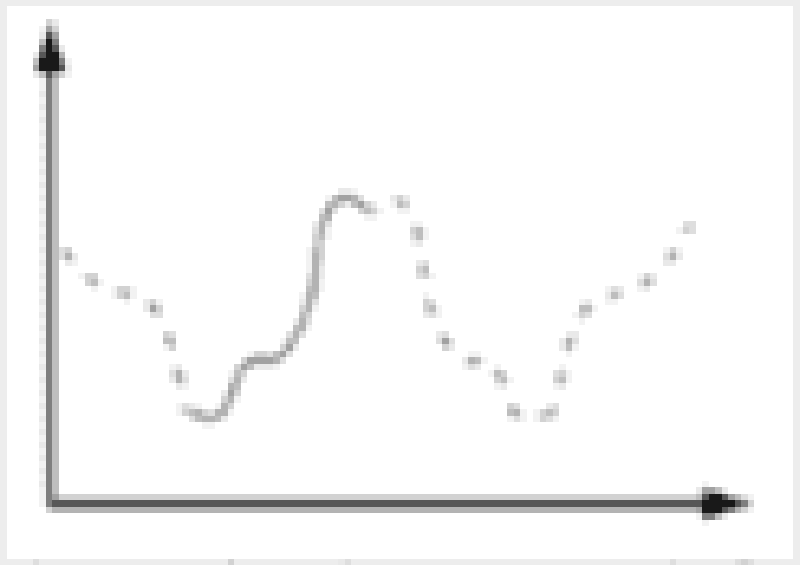
Oscillate
setting extrapolates the value of the first key using its tangent information. It projects a linear curve infinitely beyond.
Settings define the behaviour of an animation curve before and after the first key of that curve.
Setting repeats the animation curve by reversing its values, and therefore shape, with each cycle, creating an alternating backwards and forwards effect.
setting repeats the animation curve as a copy infinitely.
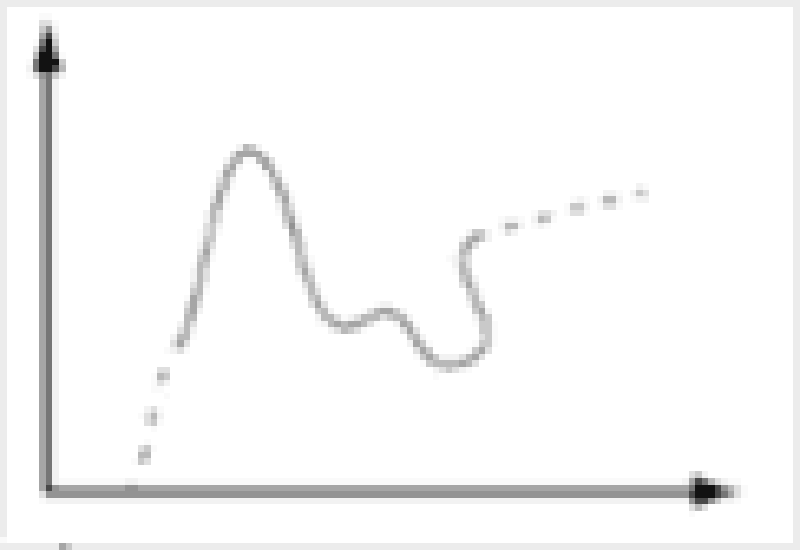
Linear
setting maintains the value of the end keys. This is the default setting for animation curves in Maya.
Setting repeats the animation curve by reversing its values, and therefore shape, with each cycle, creating an alternating backwards and forwards effect.
setting repeats the animation curve infinitely, except it appends the cycled curve’s last key’s value to the value of the first key’s original curve.
setting extrapolates the value of the first key using its tangent information. It projects a linear curve infinitely beyond.
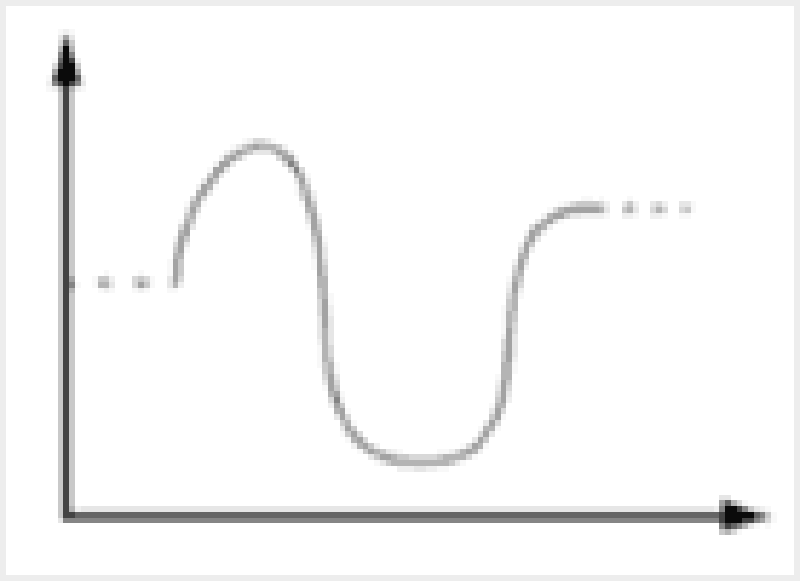
Constant
Setting maintains the value of the end keys. This is the default setting for animation curves in Maya
Setting extrapolates the value of the first key using its tangent information. It projects a linear curve infinitely beyond.
Setting repeats the animation curve by reversing its values, and therefore shape, with each cycle, creating an alternating backwards and forwards effect.
setting repeats the animation curve infinitely, except it appends the cycled curve’s last key’s value to the value of the first key’s original curve.
Post mode
Lets you paint or change weights without affecting the weights for other influences.
Lets Maya adds or removes weights from other influences in order to make the total weights on all influences add up to 1.0.
Position and rotation of an object along a curve
Create an association between pairs of attributes
Interactive Mode
Position and rotation of an object along a curve
Lets you paint or change weights without affecting the weights for other influences.
Create an association between pairs of attributes
Lets Maya adds or removes weights from other influences in order to make the total weights on all influences add up to 1.0.
Import a Python module that allows you to use any Maya command available to Python.
Import maya.cmds
Maya.cmds.polyCube()
Print(maya.cmds.help('polyCube'))
Sphere( radius=4 )
Command creates a new polygonal cube.
sphere( radius=4 )
maya.polyCube()
maya.cmds.polyCube()
Cmds.polyCube()
Command associates color(rgb and alpha) with vertices on polygonal objects. When used with the query flag, it returns the color associated with the specified components.
Maya.cmds.polyColorPerVertex( colorRGB=[1,0,0], colorDisplayOption=True);
Maya.cmds.polyCube( w=1, h=1, d=1, sx=1, sy=1, sz=1, ax=(0, 1, 0), cuv=4, ch=1 );
Maya.cmds.polyCube(name='myCube', depth=12.5, height=5)
maya.cmds.polyCube(n='myCube', d=12.5, h=5);
In a skeleton setup, the importance is the places of ______________
Bones
Joints
Keyframes
Hierarchy
Which of the following do you use to edit a smooth bind?
Flexors
Lattices
Painting skin weights
All of the above
What are the three categories of lights in a three point system?
Key, spot, and fill
Point, rim, and key
Key, fill, and rim
Fill, spot, and point
Which light’s job is to help reduce stark shadows?
Key
Fill
Rim
Spot
Which light can be thought of like the sun?
Directional
Spot
Point
Rim
Taking individually rendered scene elements and combining them into a finished image is known as
Compiling
Compositing
Batch rendering
Converting
The constrains:
Allow you to control a character using other objects (such as locators).
Let you control parts of a character like the position of IK handles with a point constraint or the rotation of joints with an orient constraint.
Let you set up an object to point at, orient to, or look at another object.
All the above
This process of preparing character controls is called
Rigging
Animation
Weighting
Surfacing
To create the blend shape interface, select your blend shapes and base by:
Drag-selecting over all the geometry
Shift-select the blends one at a time, selecting the base model last
Shift-select the blends one at a time, selecting the base model first.
The only way to render paint effects using MentalRay is to:
They can never be rendered, they are only for preview and reference use
Create the paint effects using MentalRay
Model the paint effects geometry from scratch and then paint on it
Convert the paint effects to Polygons
After effects can be used for:
All of the other options
Compositing
Animating layers
Color correction
To attach a character model to a skeleton you need to apply the following command Bind Skin>:
Rigid Bind
Skin Geometry
Smooth Bind or Rigid Bind
Smooth Bind
One of the final steps in modeling is to add additional geometry in areas of the model where ____________ will occur
Bending
Merge operation
Texture mapping
Shell
To make sure there are no stray verts in your model, you perform a ______________.
Scale tool
Merge operation
Modeling history
X-ray
Once you move your model, you should zero out the move and rotate values by selecting ____________.
Modify>freeze transformations
Point constraint
Set Driven Key
Edge loops
___________ is a technique for assigning a picture to the surface of a model.
Shell
Squash and Stretch
Texture mapping
Freeze transformations
A set of UVs for part of the model is known as a _________.
Shell
Point constraint
Vertices
X-ray
To change the size of the UV projections, press r to select the _________.
Scale tool
Path animation
Kinematics
Vertices
Blend shapes are frequently used for creating ___________.
Vertices
Facial expressions
Point constraint
Shell
Add additional ____________ around things like eye sockets and lips before creating blend shapes.
Keyframing
Aim constraint
Path animation
Edge loops
In general, blend shapes work best when they’re not trying to __________.
Modeling history
Do too much
Keyframing
Point constraint
Before you start creating blend shapes, you should delete______________
Modeling history
Point constraint
Shell
Vertices
Joints function by influencing _____________ on the surface of the model.
Most detail
Vertices
Point constraint
X-ray
The best view to create a joint chain in is the one that provides the ______ about the geometry.
Amount of influence
Kinematics
Most detail
Paint skin weights
Before you start creating joints, you should turn on ____________.
Freeze transformations
X-ray
Amount of influence
Paint skin weights
Skin weights refer to the _______________ a joint has on a given vertex.
Amount of influence
Character rigging
RP
Aim constraint
Every vertex on the surface of the model must have a total influence of ___________.
1 (or 50%)
1 (or 100%)
0 (or 100%)
1 (or 75%)
You use the ____________ tool to adjust the joint weights on vertices.
Paint skin weights
Squash and Stretch
Aim constraint
Freeze transformations
You use the __________ window to modify a skin point’s weight.
Tangent
Vertices
Component Editor
Frame padding
______________ creates controls for making rotating joints easier and speeding up animation workflow
Character rigging
Facial expressions
Kinematics
Freeze transformations
___________ describes how the joints in a model rotate, without worrying about what drives the rotation.
Point constraint
Kinematics
Orient constraint
Aim constraint
The ______________ solver will allow you to rotate the joint chain.
RP
Tangent
Shell
Keyframing
Once you create your control handle, you should _______________ to zero out the move information.
Freeze transformations
Point constraint
Kinematics
Component Editor
A(n) _______________ constrains the position of one object to the position of another object.
Orient constraint
Keyframing
Point constraint
Aim constraint
A(n) ___________ constrains the rotations of one object to the rotation of another object.
Orient constraint
Amount of influence
Freeze transformations
Keyframes
A(n) ____________ keeps an object pointing to another object.
Orient constraint
Path animation
Shell
Aim constraint
A(n) ____________ uses keyframes and relationships between attributes of objects to automate some animations and is very useful in rigging.
Set Driven Key
Orient constraint
Shell
Tangent
The curvature of an animation curve at the point of a keyframe is called ____________.
Path animation
Tangent
Freezing Transformations
Squash and Stretch
Resetting an object’s transformations all back to 0 is called ____________.
Keyframing
Freezing Transformations
Path animation
Trax Editor
____________ is an animation term used to convey the weight of an object as it animates.
Squash and Stretch
Path animation
Keyframing
Kinematics
Animating an object along a curve is called _______________.
Keyframing
Pose to pose
Path animation
Orient constraint
___________ Involves recording attribute values as keys for one or more objects at particular points in time.
Keyframing
Orient constraint
Set Driven Key
Shell
___________ allow you to make parts of character animation in different files and mix them together in another file (Blended Clips).
Path animation
Trax Editor
Pose to pose
Frame padding
One common way to animate a shot is to use a technique called __________.
Keyframing
Path animation
Trax Editor
Pose to pose
_______________ is the number of digits in the frame number, and should always match the number of digits in the last frame of your scene.
Pose to pose
Vertices
Frame padding
Trax Editor
Blend shapes are frequently used for creating ________________.
Vertices
Facial expressions
Frame padding
Pose to pose
Joints function by influencing ____________ on the surface of the model.
Vertices
Facial expressions
Frame padding
Pose to pose
To set a keyframe, you press the:
K key
S key
M key
P key
When working on your scene, you should turn on the _____ so you can see what the camera will see.
Resolution gate
Heads-up display
View cube
Graph editor
When modeling, you place your reference images in the:
Sourceimages folder
Main Maya directory
scenes folder
On the desktop
Starting your model with a cube is a technique called:
Extrusion modeling
Box modeling
Dimensional modeling
The tool that inserts edges at points you specify is the:
Extrude tool
Insert edge loop tool
Split polygon tool
{"name":"3D Graphics and Animation", "url":"https://www.quiz-maker.com/QPREVIEW","txt":"The quad is a polygon made up of n edges., An active object is affected by forces and by collisions with other Active Rigid Bodies., A lattice deformer can be deformed as a deformable object.","img":"https://cdn.poll-maker.com/42-1388170/capture.png?sz=1200"}
More Quizzes
The Walking Dead Quiz
210
Harry Potter Sorting Quiz
1260
Day 1
210
KWL Chart Assessment
7421
Free Worksheets for Literary Devices
201022275
Ultimate Neuron: Test Your Nerve Cell Knowledge
201044196
Free Translation: Test Your Skills
201026569
Zoey 101: Can You Ace This Ultimate Trivia Challenge?
201093918
Minority Identities in Film and Culture: Italian American & African American Experience
15822956
Ace the Navedtra 14295B Hospital Corpsman Practice
201051143
Ace Your DMV Practice Test NY State - 19A Certification
201036697
Quiz Capital Cities of Europe: Test Your Knowledge!
201032001