What Is a Pinch Point? Test Your Workplace Safety Skills
Quick, free pinch point safety quiz. Instant results and practical tips.
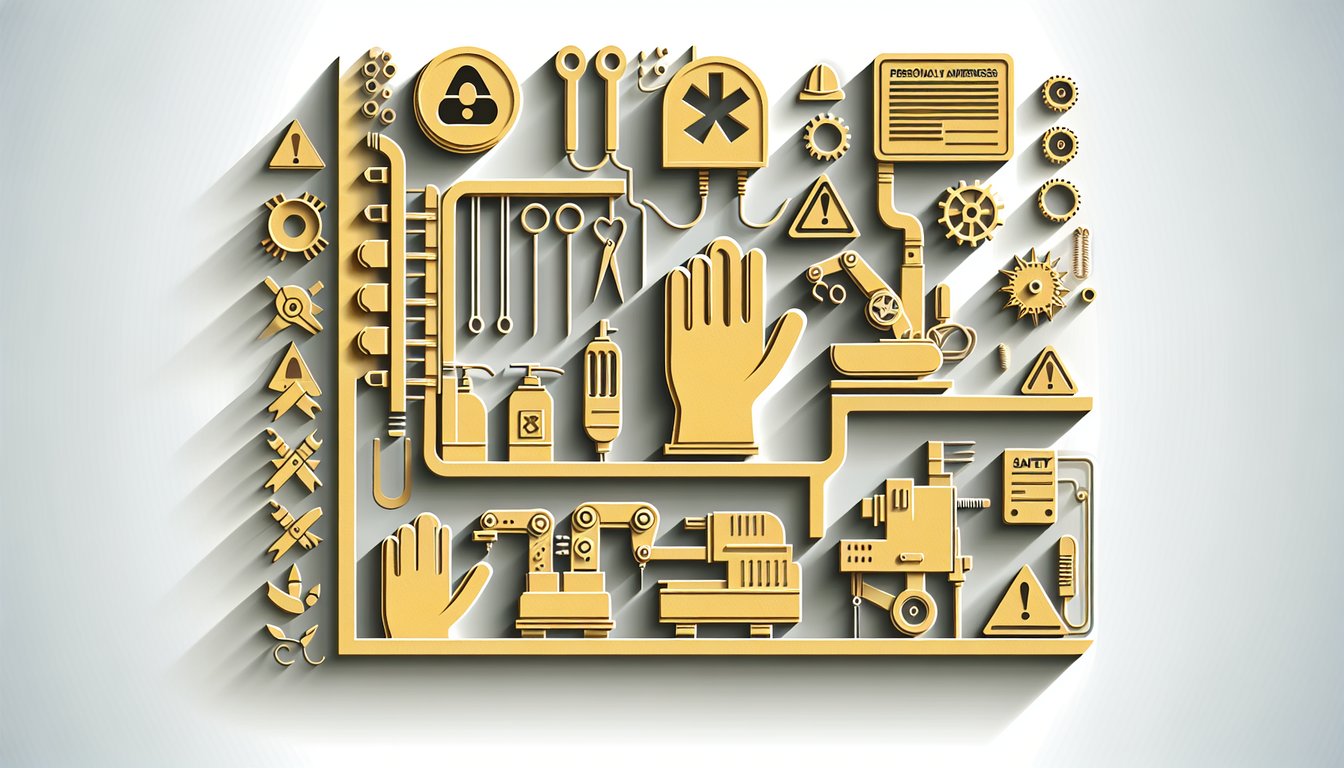
This quiz helps you spot pinch point hazards and understand what a pinch point is on the job. You will practice recognizing danger zones on machines and choosing safer actions. For more hands-on practice, take our loto quiz, try the forklift quiz, or review broader risks with a warehouse safety quiz.
Study Outcomes
- Identify Pinch Point Characteristics -
Distinguish what constitutes a pinch point by recognizing the machine parts and motions that can trap or crush fingers.
- Analyze Hazardous Scenarios -
Assess real”world work situations to pinpoint where pinch point risks occur during industrial tasks.
- Apply Protective Measures -
Implement appropriate finger safety devices, gloves, and work practices to prevent hand injuries.
- Interpret Safety Signals and Warnings -
Read and respond correctly to industrial pinch point safety labels, signs, and training cues.
- Recall Best Practices -
Memorize key workplace hand safety questions and protocols that reduce pinch point incidents.
- Evaluate Control Strategies -
Compare engineering controls, administrative controls, and personal protective equipment to manage pinch point hazards effectively.
Cheat Sheet
- Clear Definition of a Pinch Point -
A pinch point occurs where two moving parts or a moving and a stationary object can trap body parts, which answers what is true about a pinch point by focusing on contact zones. According to OSHA, these hotspots frequently appear around gears, rollers, and hinges. Remember the mnemonic P.I.N.C.H. - Potential Interaction Near Crushing Hazards - to quickly recall this hazard in any hand safety quiz scenario.
- Compressive Force and Injury Thresholds -
Pinch point injuries often involve compressive forces exceeding 200 N, enough to fracture bone according to NIOSH research. Knowing typical failure thresholds can help in a finger safety test or hand safety quiz to assess risk levels in different industrial pinch point safety scenarios. Use the simple formula Pressure = Force ÷ Area to estimate potential tissue damage and prioritize controls.
- Identifying Hidden Pinch Points -
An effective hand safety quiz tests your ability to spot concealed hazards like belt drives or recessed gears not clearly visible on the factory floor. Conduct a hazard mapping exercise, ranking each spot by severity and likelihood to answer workplace hand safety questions confidently. This rapid walk-around technique helps you spot what is true about a pinch point before gear installation or maintenance.
- Engineering Controls and Machine Guards -
OSHA's 29 CFR 1910.212 mandates that machinery must have fixed or interlocked guards to prevent access to pinch points. Two-hand control devices and presence-sensing interlocks, as described in ANSI B11 standards, create safer interaction zones. For a mnemonic, remember "SAFE" - Shields, Anchors, Fail-safe, and Enclosures - to recall key engineering measures during an industrial pinch point safety audit.
- PPE, Signage, and Training Best Practices -
Personal protective equipment like ANSI/ISEA Level A4 cut-resistant gloves can reduce injury severity, though they are not a substitute for engineering controls. Clear signage and hands-on training modules improve retention in a hand safety quiz and real-world tasks. Use the STOP acronym - Stop, Think, Observe hazards, and Protect - to foster a proactive safety culture when answering finger safety test scenarios.