UV and LED bonding gels: test your knowledge
Quick, free quiz on when to use bonding gel. Instant results.
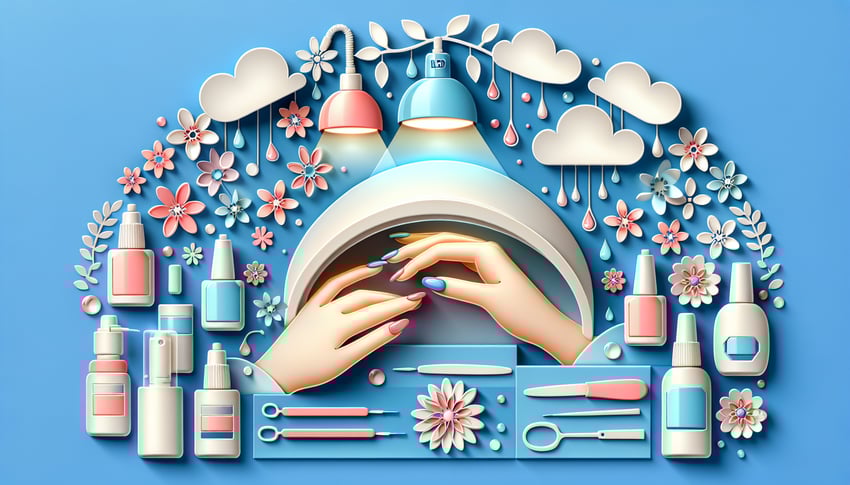
This quiz helps you check how UV and LED bonding gels work for adhesion and curing in nail services. Answer quick questions, learn when to use bonding gel, and see where to improve. For broader product know-how, try our nail product knowledge quiz, and if you want a refresher on lamp science, see the led basics quiz.
Study Outcomes
- Understand UV & LED Bonding Gel Functions -
Describe how uv and led bonding gels are used to create a strong base for gel nail enhancements and improve overall adhesion.
- Differentiate Curing Techniques -
Compare UV and LED lamp curing processes, including light wavelengths and curing times, to optimize gel set and durability.
- Analyze Prep Techniques for Nail Adhesion -
Identify essential nail prep steps to ensure uv gel manicure bonding is long-lasting and minimizes lifting.
- Evaluate Bonding Gel Selection -
Determine when to use led bonding gels for nails versus UV options based on client needs and salon equipment.
- Apply Bonding Gel Knowledge -
Utilize understanding of how uv and led bonding gels are used in nail services to achieve consistent, salon-quality results.
Cheat Sheet
- Photopolymerization Fundamentals -
UV and LED bonding gels are used because their photoinitiators activate at distinct wavelengths - 365 nm for UV and 405 nm for LED - ensuring reliable cross-linking and hardness (International Journal of Cosmetic Science). LED units typically cure each gel layer in 30 - 60 seconds, whereas UV lamps require around 2 - 3 minutes per layer. Mnemonic: "3-6-5 for UV, 4-0-5 for LED" helps nail techs recall lamp specs.
- Essential Nail Prep for Adhesion -
Proper uv gel manicure bonding begins with thorough nail dehydration, buffing with a 180 - 240 grit buffer, and applying a pH-balancing primer (CND Official Training Guide). Skipping this step can reduce uv gel nail adhesion by up to 40%, per Milady Cosmetology curriculum. Always wipe with lint-free wipers and 70% isopropyl alcohol to remove oils and dust.
- Layering Structure: Base, Build, Top -
Using led bonding gels for nails effectively means remembering the "B-B-T" rule: Base coat for adhesion, build gel for structure, and top coat for shine and protection (Journal of Nail Technology). Each layer should be thin - about 0.5 mm - to prevent lifting or wrinkling during cure. This three-step system creates consistent gel thickness and maximizes durability.
- Optimizing Curing Times -
When uv and led bonding gels are used, curing time depends on gel viscosity and lamp power: high-viscosity gels may need an extra 10 - 20 seconds under a 48W LED lamp, according to a University of Cosmetology study. Under-curing leads to tacky surfaces, while over-curing can cause brittleness and nail stress. Tip: track lamp age and wipe LEDs clean to maintain consistent irradiance.
- Troubleshooting Adhesion Challenges -
Poor uv gel nail adhesion often stems from contamination, incorrect lamp type, or skipping primer (American Academy of Dermatology). Use the "C.L.E.A.N." mnemonic - Clean nails, Laminate primer, Even gel layer, Appropriate lamp, No air bubbles - to systematically identify issues. Regularly test bond strength by gently flexing the free edge after curing to ensure flawless adhesion.